
How to Clean a Box Cutter Without Damaging the Blade Channel
2026-09-03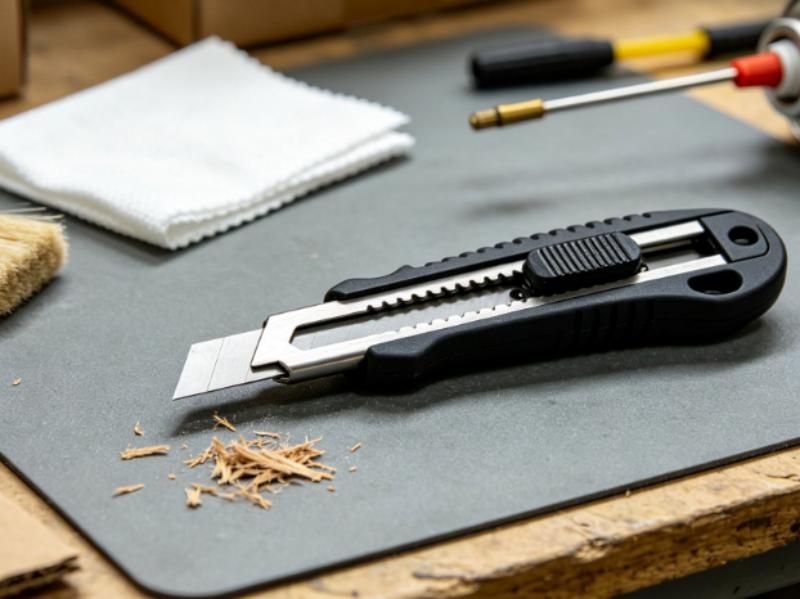
A sticky slider can turn a normal cutting task into a safety risk. A gritty blade channel causes similar issues. Cleaning a box cutter is not about soaking the tool. You should not force parts apart. Instead, it is a careful maintenance job. You need to remove loose dirt. Keep water away from the internal parts. Check the blade, and make sure the slider moves smoothly. This simple habit helps workers keep their utility cutter ready for daily tasks.
Why a Dirty Blade Channel Changes the Cut
The blade channel guides the metal edge. This happens as it slides out and pulls back. Because of this, stray fibers and tape glue can change how the slider feels. Dust and dried gunk also cause problems. When dirt builds up, people often push the button harder. They might push the blade out too far. Sometimes, they think a stiff slider means the blade is dull. These bad habits increase the risk of a messy cut. They can also cause sudden blade slips.
Cleaning also makes inspection easier. Once loose dirt is gone, a user can see whether the blade is chipped, bent, contaminated with adhesive, or seated unevenly. A damaged blade should be handled as a blade problem, while a clean but resistant slider points to the channel or locking mechanism.
*Loose cardboard fibers or construction dust around the blade path
*Tape adhesive that makes extension feel tacky or uneven
*Moisture exposure that can leave residue in a metal channel
*Blade fragments after a snap-off blade has been broken at a scored segment
What a Quick Inspection Should Reveal
A useful inspection separates ordinary dirt from a condition that needs a different response. The goal is not to diagnose every internal part. It is to see whether the cutter is clean enough to move normally, whether the blade is sound enough to cut, and whether any visible fault makes continued use a poor choice.
|
What you notice |
Practical response |
|
Dry fibers in the opening |
Brush or blow them away with the blade retracted. |
|
Tacky residue on outer surfaces |
Use a lightly dampened cloth and dry the cutter immediately. |
|
Bent or chipped blade edge |
Replace the blade or segment instead of trying to restore the edge. |
Methods That Create More Problems
Force, soaking, and improvised prying can create a new fault while trying to solve a small one. Do not scrape inside the channel with a sharp loose blade, flood the cutter with solvent, or test a resistant slider by snapping it back and forth. Controlled cleaning protects both the user and the cutter’s moving parts.
A Low-Risk Cleaning Routine
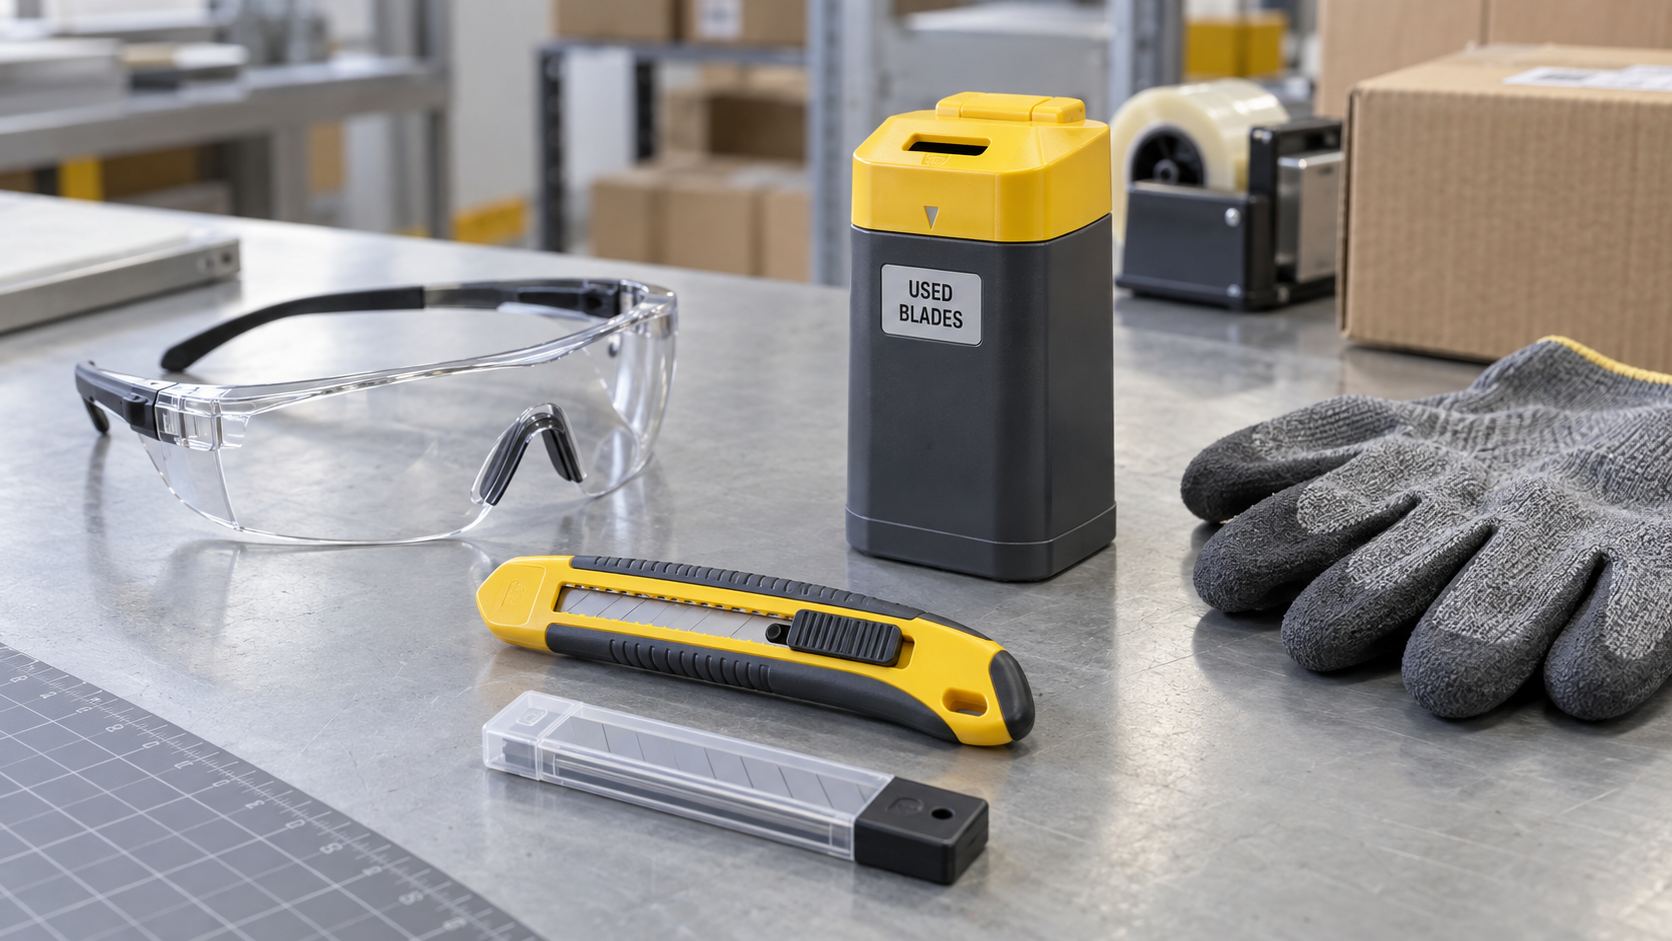
A careful routine begins with the blade fully retracted and the cutter placed on a stable surface. Wear appropriate hand protection for the task, keep the cutting edge pointed away from the body, and do not hold the cutter in the palm while cleaning the blade path. A dry brush, wooden stick, or compressed air used from a sensible distance can lift loose material without driving it deeper.
For readers searching how to clean a box cutter, the key is to clean the exposed areas first and use only a lightly dampened cloth for stubborn surface residue. Wipe the outer housing, blade spine, and slider area, then dry the tool immediately. Avoid immersing the cutter, flooding the channel, or applying a heavy lubricant that can trap fresh dust.
The blade should receive separate attention. Adhesive on an otherwise sound blade can often be wiped carefully while the blade remains retracted as far as practical. If the edge is visibly damaged, replacement is safer than trying to scrape or straighten it. A clean edge cannot compensate for a chipped tip or an unstable blade.
When the Slider Still Feels Rough
A rough slider after basic cleaning calls for a pause, not more force. First remove visible debris around the slider opening and test the motion slowly with the blade directed away from people. If the tool has a removable blade design, follow that model’s intended method rather than prying at the housing or using an improvised tool.
The query how to remove blade from cutter knife often leads people toward full disassembly, but normal channel cleaning rarely needs it. Removing a blade is appropriate when replacement or a documented cleaning procedure calls for it. It is not a shortcut for a jam that has not been diagnosed.
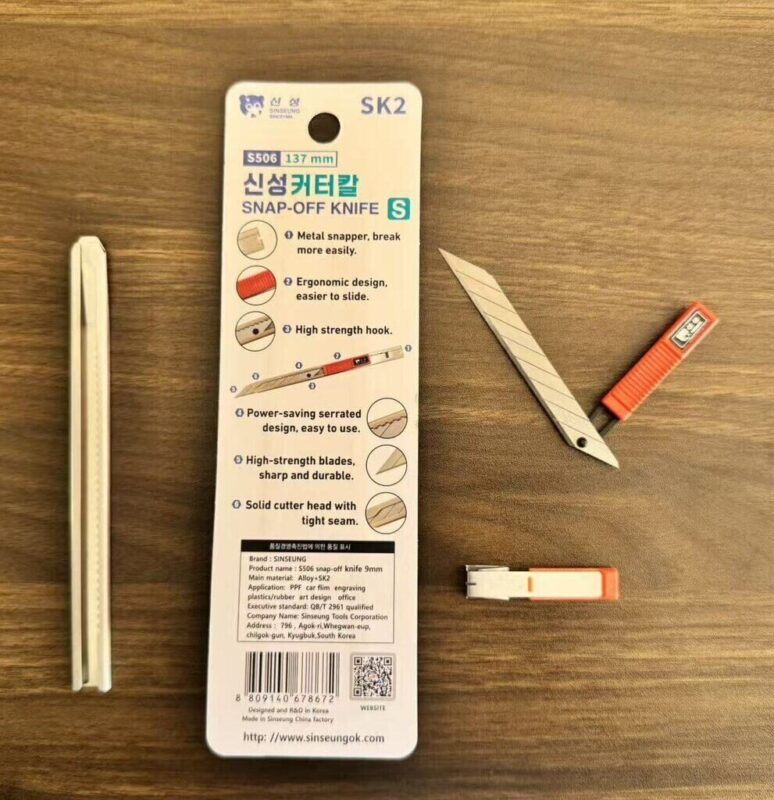
Using a 9 mm Cutter as a Maintenance Example
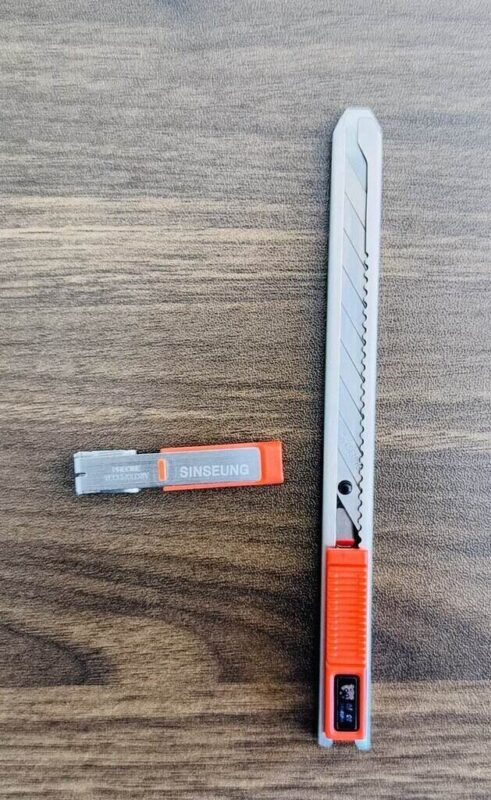
A 9 mm utility cutter such as Sinseung’s S506 is a useful example because its compact format makes blade control and slider feel easy to notice. Its self-locking slider and rear snapping slot support common day-to-day blade handling, but they do not remove the need for a clean channel and a sound cutting edge. The product example belongs in the maintenance context, not as a reason to force a repair.
A tool that still binds, fails to lock, or has a cracked housing should be taken out of service until the cause is clear. For someone asking how to fix a box cutter, the practical answer is often inspection, blade replacement, and safe retirement of a defective cutter, not a makeshift repair. OSHA’s general utility-knife guidance also supports keeping blades controlled and using the right condition of tool for the work.
Cleanliness Is Part of Predictable Blade Control
A clean box cutter is easier to inspect, easier to control, and less likely to encourage unsafe force. Retract the blade, remove loose debris without flooding the mechanism, dry the tool, and separate cleaning from blade replacement or repair decisions. That small routine gives warehouse, trade, and distribution teams a more dependable starting point for everyday cutting work.
FAQ
Can I wash a box cutter under running water?
Running water can carry moisture and debris into the channel, so a dry method and a lightly dampened cloth are safer for routine cleaning. Dry any contacted surface immediately.
What removes tape adhesive from a utility knife?
Use a small amount of cleaner on a cloth rather than spraying directly into the cutter. Keep the blade retracted where possible and avoid soaking the slider or channel.
Should I remove the blade every time I clean the cutter?
No. Normal cleaning focuses on exposed debris and the blade path. Remove a blade only when the cutter design and the work actually require replacement or deeper inspection.
Why does a box cutter slider become hard to move?
Dust, fibers, adhesive, or a damaged blade can create drag. Clean visible residue first, then stop using the cutter if the slider still binds or fails to lock.
When should a box cutter be replaced instead of cleaned?
Replace or remove the cutter from service when the housing is cracked, the locking action is unreliable, or the tool remains unsafe after normal cleaning and blade inspection.
-
 Are Box Cutter Blades Universal?Explain box cutter blade compatibility by width, holder channel, lock design, refill format, and model matching for trade buyers.2026/10/01
 -
How to Safely Snap Off a Utility Knife BladeLearn how to snap off a box cutter blade with controlled extension, safe break direction, secure containment, and practical S103 workstation checks.2026/09/24
-
30 vs 45 Degree Cutter Blades for PrecisionLearn how 30 and 45 degree cutter blade tips affect precision, durability, PPF trimming, and wholesale blade selection.2026/09/24